

Transacting With AxelarJS
Use AxelarJS to estimate gas costs, query your transaction status, and debug faulty transactions
Search for a command to run...
Use AxelarJS to estimate gas costs, query your transaction status, and debug faulty transactions
No comments yet. Be the first to comment.
Release Date: January 2025 Status: Live on Mainnet We’re thrilled to announce the launch of ITS Hub, a significant leap forward in blockchain interoperability. ITS Hub builds on the foundation of the Interchain Token Service (ITS) by introducing a ce...

In 2024, Axelar took massive strides toward making true multichain interoperability a reality. From unlocking new design spaces for builders to connecting more than 69 chains to unveiling the Mobius Development Stack. 2024 proved that Axelar is here ...

Welcome to the November 2024 Axelar Developer Newsletter! About Axelar: Axelar is the Web3 interoperability platform, delivering the shortest path to scale: an open stack to connect all blockchains. Adopters include Uniswap, Microsoft, and dozens of ...

Welcome to the October 2024 Axelar Developer Newsletter! About Axelar: Axelar is the Web3 interoperability platform, delivering the shortest path to scale: an open stack to connect all blockchains. Adopters include Uniswap, Microsoft, and dozens of n...

We’re pleased to announce the release of ampd version 1.2. What is ampd? ampd is part of the Interchain Amplifier. It is a daemon that is run by verifiers who form the decentralized group that vote on the truthfulness of cross-chain transactions. amp...

Axelar is an on-chain solution for conducting interoperability between blockchains. As such, many teams building on top of Axelar opt to integrate Axelar-related functionality directly into their on-chain Solidity contracts. While this is a great option for many teams, it is not the only way to work with Axelar.
AxelarJS is a library for users who prefer to integrate with Axelar services from a JavaScript environment. This library contains the most commonly used interchain functionalities as well as other utilities that may not be available when writing in Solidity.
In this tutorial, you will utilize AxelarJS and execute the following as a single Hardhat task:
Send a GMP message with an aUSDC token from Celo to Fantom
Estimate the gas costs of that transaction
Query the status of your interchain transaction
Recover and resend underfunded transactions
By the end, you should be familiar with the following AxelarJS features: gas-fee-estimation,query transaction status,recovering transactions.
Clone the starter code from GitHub. The DistributionExecutable contract should already be complete. This contract sends an aUSDC token along with a GMP message containing a list of addresses that the token will be sent to on the destination chain.
There are also two optional deployment scripts available for those who wish to deploy this contract themselves on the Celo and Fantom blockchains.
.env fileTo deploy the contract, set up your .env file to hold your wallet’s unique mnemonic:
Copy mnemonic from wallet
New .env file in root folder
In .env file: MNEMONIC = "<mnemonic>”
Install dotenv lib
Interact with your mnemonic via process.env.MNEMONIC
Once you have set up the .env file, you should be able to run the deploy script. To deploy the DistributionExample contract to Celo, run
npx hardhat run scripts/deployCelo.ts --network celo
After running the script you should see a log in your console saying the contract was deployed to Celo, along with the address of your contract.
The same deployment steps apply to any chain on the network. Just change the name of the network parameter. For example, to deploy the contract on Fantom, run
npx hardhat run scripts/deployFantom.ts --network fantom
For simplicity’s sake, the rest of the tutorial will use the following two contracts:
Celo: 0x953bE597934f1419E20cfFDa8D13B4EcF264057c
Fantom: 0xe41Abe529cf0491FAf854abc564314A511bF0CD2
You can substitute these two addresses with any two addresses returned from deploying the DistributionExample contract on different chains. If you do not want to deploy your own instances of the contract and elect to use the pre-deployed addresses you must ensure to approve the address on the source chain to send the tokens on your behalf.
Now that you have deployed the DistributionExample contract, it is time to put it into use.
To access an instance of the contract navigate to the hardhat.config.ts file. Call the getWallet() helper function, which is defined in your utils folder. Pass in the source chain’s RPC along with an ethers object.
To access an instance of the deployed contract, pass in the contract’s address, the contract’s ABI, and the connectedWallet from the getWallet() function.
Your code should now look like this:
task("sendToMany", "Send tokens across chain using axelarjs")
  .addParam("sourcechainaddr", "The source chain address")
  .addParam("destchainaddr", "The destination chain address")
  .setAction(async (taskArgs, hre) => {
    console.log("Let's do this!");
const connectedWallet = getWallet(chains[0].rpc, hre.ethers)
const contract = new hre.ethers.Contract(
      taskArgs.sourcechainaddr,
      GMPDistribution.abi,
      connectedWallet
   )
});
Now that the contract is deployed and linked with your wallet, you can begin the integration with AxelarJS.
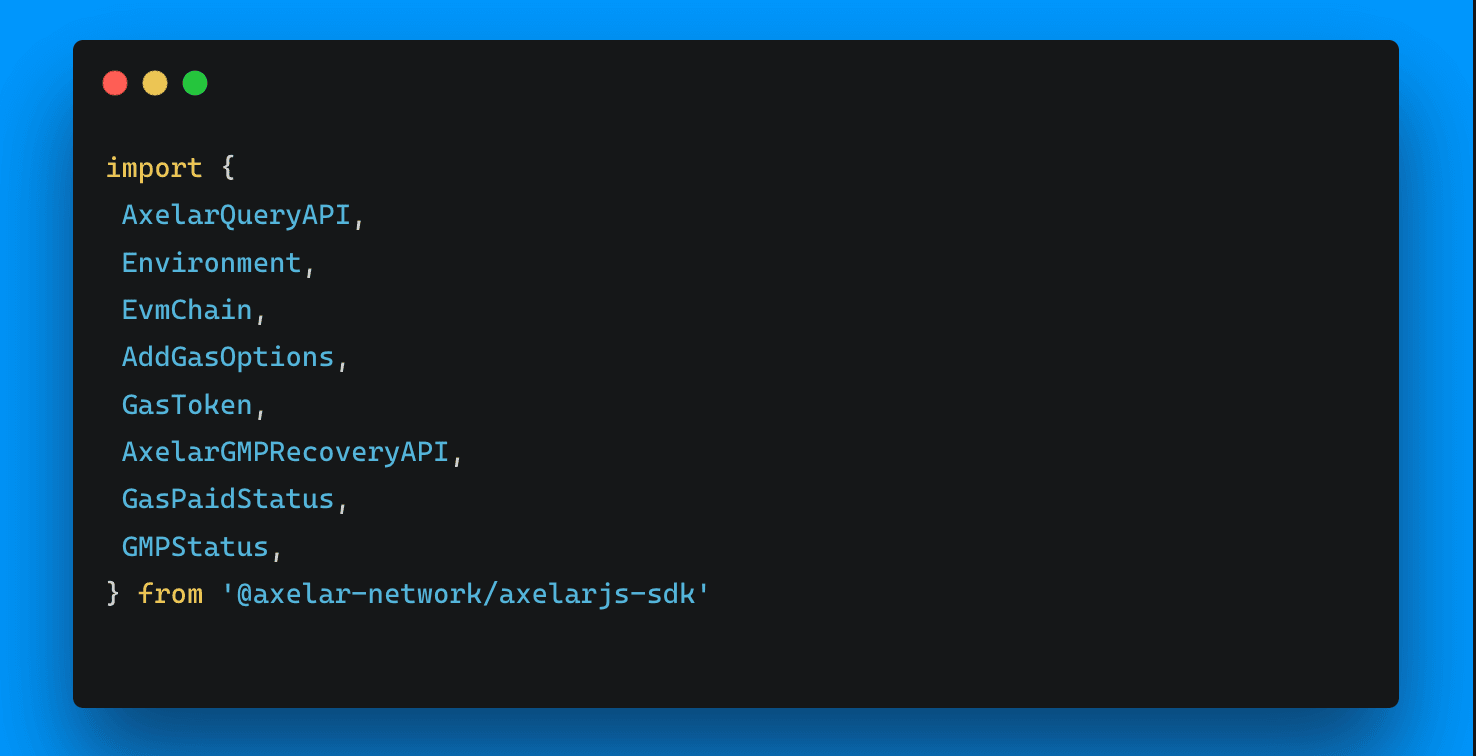
In your hardhat.config.ts file, import the AxelarQueryAPI from the @axelarjs package already installed in the starter code:
import {
 AxelarQueryAPI,
 Environment,
 EvmChain,
 AddGasOptions,
 GasToken,
 AxelarGMPRecoveryAPI,
 GasPaidStatus,
 GMPStatus,
} from '@axelar-network/axelarjs-sdk'
Import the following from the axelarjs-sdk, which you will use throughout the rest of the script.
Configure the API to point to the testnet environment right above your hardhat task:
const sdkGmpRecovery = new AxelarGMPRecoveryAPI({
  environment: Environment.TESTNET,
})
An Axelar transaction has three different gas fees for transactions on the source chain, the Axelar chain, and the destination chain, respectively. The AxelarJS estimateGasFee() function estimates how much gas is needed to complete the interchain transaction across all three chains.
You can access the estimateGasFee() function from the sdkQuery variable you created earlier. This function takes the following parameters:
Source chain name
Destination chain name
Source chain token
The transaction’s gas limit
Gas multiplier — creates a buffer above the calculated gas fee to account for potential slippage throughout the transaction execution (for example, a 1.1 multiplier is a 10% buffer)
Minimum gas price — estimated gas price will be overridden if it falls below this specified value
Call estimateGasFee() in your Hardhat task. It should look like this:
const estimatedGasAmount = await sdkQuery.estimateGasFee(
  EvmChain.CELO,
  EvmChain.FANTOM,
  GasToken.CELO,
  700000,
  1.1,
  '500000'
)
Now that you have calculated the estimated gas cost, you can begin the interchain translation. To do this, you will use the contract instance you created earlier. Simply call the sendToMany() function that is defined in the contract itself.
sendToMany() takes the following arguments:
The name of the destination chain
The address the transaction is being sent to on the destination chain
The list of addresses that will be receiving the ERC-20 tokens once on the destination chain
The symbol of the ERC-20 token being transferred
The amount of ERC-20 tokens being transferred
A gas value to pay for the interchain transaction — You can pass in an arbitrary amount of gas or pass in the estimated amount of gas that was calculated earlier. Any surplus gas that is sent along with the transaction will be refunded to the original sender.
The sendToMany() function call should look like this:
const tx1 = await contract.sendToMany(
  EvmChain.FANTOM,
  taskArgs.destchainaddr,
  [
    '0x03555aA97c7Ece30Afe93DAb67224f3adA79A60f',
    '0xC165CbEc276C26c57F1b1Cbc499109AbeCbA4474',
    '0x23f5536D2C7a8ffE66C385F9f7e53a5C86F53bD1',
  ],
  GasToken.aUSDC,
  3000000,
  { value: estimatedGasAmount }
)

console.log('tx1.hash', tx1.hash)
Run this hardhat task:
npx hardhat sendToMany --sourcechainaddr 0x68474f4c8124ec22940ca3a682c862c8447da6b6 --destchainaddr 0x69aBe660cB7b4C5Bfb7c47Ff6B02d5294DA7Ce19
You should be able to see the transaction executed from Celo to Fantom on the Axelarscan block explorer.
The Axelar faucet can provide you with all the aUSDC tokens you need.
Great! Now you have transferred some aUSDC, along with a list of addresses, from Celo to Fantom. But what if you run into a situation where your transaction fails? Fortunately, AxelarJS has a handy transaction recovery component which can be very helpful in this situation. Let’s test it out to see how it works.
This time, you’ll call sendToMany() again, but you’ll pass in a deliberately low amount of gas to ensure that the transaction fails. Then you’ll use the AxelarJS transaction recovery service to fix the issue.
Start by implementing a faulty sendToMany() function call:
const tx2 = await contract.sendToMany(
  EvmChain.FANTOM,
  taskArgs.destchainaddr,
  [
    '0x03555aA97c7Ece30Afe93DAb67224f3adA79A60f',
    '0xC165CbEc276C26c57F1b1Cbc499109AbeCbA4474',
    '0x23f5536D2C7a8ffE66C385F9f7e53a5C86F53bD1',
  ],
  GasToken.aUSDC,
  3000000,
  { value: '1000' }
)
The entirety of this function call is identical, except for the value which is now set to a much smaller amount than before. This function call will quickly run out of gas. Run the task again and paste the resulting transaction hash into the testnet block explorer. It should show that the transaction has an insufficient base fee:

To get started set your gas options and the AxelarGMPRecoveryAPI to the testnet environment:
const sdkGmpRecovery = new AxelarGMPRecoveryAPI({
  environment: Environment.TESTNET,
})
Now you should have access to several useful functions in the recovery API. The first function you will be using is called queryTransactionStatus(), which provides the status of the interchain transaction.
Pass in your faulty transaction hash as an argument:
const tx2 = await contract.sendToMany(
  EvmChain.FANTOM,
  taskArgs.destchainaddr,
  [
    '0x03555aA97c7Ece30Afe93DAb67224f3adA79A60f',
    '0xC165CbEc276C26c57F1b1Cbc499109AbeCbA4474',
    '0x23f5536D2C7a8ffE66C385F9f7e53a5C86F53bD1',
  ],
  GasToken.aUSDC,
  3000000,
  { value: '1000' }
)
let tx2Status
tx2Status = await sdkGmpRecovery.queryTransactionStatus(tx2.hash)
Once you have queried the transaction, the status will be GAS_PAID_NOT_ENOUGH_GAS. This is to be expected since you passed in only 1000 WEI to the transaction.
This is where the recovery API comes to the rescue again. To fix this issue, you can call addNativeGas(), which takes the following arguments:
The source chain
The hash of the transaction that needs the additional gas
The AddGasOptions — several optional parameters you can include when increasing gas, including the amount, the refund address, and estimated gas used.
an interface for adding gas to a transaction
AddGasOptions includes helpful configurations such as a refund address, gas multiplier, and destination chain. In this tutorial, you will only need to pass in the evmWalletDetails, which uses the private key of your wallet.
const gasOptions: AddGasOptions = {
  evmWalletDetails: {
    privateKey: connectedWallet.privateKey,
  }
}
Once the gasOptions are configured, you can call the addNativeGas() function wrapped by the tx2Status object, which will only allow the addNativeGas() function to execute if the transaction status indicates that more funds are required:
if (tx2Status.gasPaidInfo?.status == GasPaidStatus.GAS_PAID_NOT_ENOUGH_GAS) {
  console.log("inside if statement")
  const { success, transaction } = await sdkGmpRecovery.addNativeGas(
    EvmChain.CELO,
    tx2.hash,
    gasOptions
 )
  console.log('gas status:', tx2Status.gasPaidInfo?.status)
  console.log('adding gas transaction:', transaction?.blockHash)
  console.log(success, 'is success')
  break;
}
At this point, you have made use of all AxelarJS related functionality! The AxelarJS library may require a moment to locate the transaction hash and cannot immediately run functions for a hash that it considers unregistered.
To get all the logic of this Hardhat task to execute in a single call (for tutorial purposes only), you can wrap the addNativeGas() in a while loop. This loop will continually check the status of the tx2 object until it is accounted for:
while (tx2Status.status == GMPStatus.CANNOT_FETCH_STATUS || GasPaidStatus.GAS_UNPAID) {
  tx2Status = await sdkGmpRecovery.queryTransactionStatus(tx2.hash)
  if (tx2Status.gasPaidInfo?.status == GasPaidStatus.GAS_PAID_NOT_ENOUGH_GAS) {
    const { success, transaction } = await sdkGmpRecovery.addNativeGas(
      EvmChain.CELO,
      tx2.hash,
      gasOptions
    )

    console.log('gas status:', tx2Status.gasPaidInfo?.status)
    console.log('adding gas transaction:', transaction?.blockHash)
    console.log(success, 'is success')
    break;
  }
}
Now you should be able to call the entirety of the Hardhat task. Enter the following into your terminal:
npx hardhat sendToMany --sourcechainaddr 0x261AD0f73B0062Fb5340e95861dF3EB9c1Fc6aD4 --destchainaddr 0x6bCA5a0B528333E824f0651d13e71A4343C1a5Bb
If you opted to deploy your own version of the DistributionExecutable, make sure to swap out those two addresses for your version of the deployed addresses.
The entirety of the hardhat.config.ts file should now look like this:
import dotenv from 'dotenv'
import { task, HardhatUserConfig } from 'hardhat/config'
import '@nomicfoundation/hardhat-toolbox'
import chains from './chains.json'
import { getWallet } from './utils/getWallet'
import {
  AxelarQueryAPI,
  Environment,
  EvmChain,
  AddGasOptions,
  GasToken,
  AxelarGMPRecoveryAPI,
  GasPaidStatus,
  GMPStatus,
} from '@axelar-network/axelarjs-sdk'
import GMPDistribution from './artifacts/contracts/DistributionExecutable.sol/DistributionExecutable.json' dotenv.config()
const sdkQuery = new AxelarQueryAPI({ environment: Environment.TESTNET })
const sdkGmpRecovery = new AxelarGMPRecoveryAPI({
  environment: Environment.TESTNET,
})
task('sendToMany', 'Send tokens across chain using axelarjs')
 .addParam('sourcechainaddr', 'The source chain address')
 .addParam('destchainaddr', 'The destination chain address')
 .setAction(async (taskArgs, hre) => {
   console.log("Let's do this!")
   const connectedWallet = getWallet(chains[0].rpc, hre.ethers)
   const contract = new hre.ethers.Contract(
     taskArgs.sourcechainaddr,
     GMPDistribution.abi,
     connectedWallet
   )
  const estimatedGasAmount = await sdkQuery.estimateGasFee(
    EvmChain.CELO,
    EvmChain.FANTOM,
    GasToken.CELO,
    700000,
    1.1,
    '500000'
  )
  console.log(estimatedGasAmount, 'estimated')
   const tx1 = await contract.sendToMany(
     EvmChain.FANTOM,
     taskArgs.destchainaddr,
     [
       '0x03555aA97c7Ece30Afe93DAb67224f3adA79A60f',
       '0xC165CbEc276C26c57F1b1Cbc499109AbeCbA4474',
       '0x23f5536D2C7a8ffE66C385F9f7e53a5C86F53bD1',
     ],
     GasToken.aUSDC,
     3000000,
     { value: estimatedGasAmount }
   )
   console.log('tx1.hash', tx1.hash)
   const tx2 = await contract.sendToMany(
      EvmChain.FANTOM,
      taskArgs.destchainaddr,
      [
        '0x03555aA97c7Ece30Afe93DAb67224f3adA79A60f',
        '0xC165CbEc276C26c57F1b1Cbc499109AbeCbA4474',
        '0x23f5536D2C7a8ffE66C385F9f7e53a5C86F53bD1',
      ],
     GasToken.aUSDC,
     3000000,
      { value: '1000' }
    )
    let tx2Status
    tx2Status = await sdkGmpRecovery.queryTransactionStatus(tx2.hash)
    console.log('tx2.hash', tx2.hash)
    const gasOptions: AddGasOptions = {
      evmWalletDetails: {
        privateKey: connectedWallet.privateKey,
      }
    } while (tx2Status.status == GMPStatus.CANNOT_FETCH_STATUS || GasPaidStatus.GAS_UNPAID) {
      tx2Status = await sdkGmpRecovery.queryTransactionStatus(tx2.hash)
      if (tx2Status.gasPaidInfo?.status == GasPaidStatus.GAS_PAID_NOT_ENOUGH_GAS) {
        const { success, transaction } = await sdkGmpRecovery.addNativeGas(
          EvmChain.CELO,
          tx2.hash,
          gasOptions
        )
        console.log('gas status:', tx2Status.gasPaidInfo?.status)
        console.log('adding gas transaction:', transaction?.blockHash)
        console.log(success, 'is success')
        break;
      }
    }
  });
if (!process.env.MNEMONIC) throw 'mnemonic undefined'
const config: HardhatUserConfig = {
  solidity: '0.8.20',
  networks: {
    celo: {
      url: chains[0].rpc,
      accounts: { mnemonic: process.env.MNEMONIC },
      chainId: chains[0].chainId,
    },
    fantom: {
      url: chains[1].rpc,
      accounts: { mnemonic: process.env.MNEMONIC },
      chainId: chains[1].chainId,
    },
  },
}
export default config
Congratulations! At this point, you should be able to see three transactions taking place:
The successful sendToMany() sending the ERC20 token from Celo to Fantom
The failing sendToMany() function
The addNativeGas() function coming in to assist the failing sendToMany() call
Your terminal should show the following:
Let's do this!
tx1.hash 0xca61b0ab84314ba22a7932acf8531e7cabde7c4e8416a52b150effb23cf497ac
tx2.hash 0xae2d7f98df262db6332597c6e3188e50ba996bd826f219b0e1fd16bfe7fb0a4c
gas status: gas_paid_not_enough_gas
adding gas transaction: 0x51cbb678d99a01f744f6d78925a21d9cf40dc3829f72d90d7b0be0539605757d
true is success
You can view those transactions on either Axelarscan or the source chain block explorer (in this case, Celoscan). This tutorial just scratches the surface of the functionality that you have at your disposal with AxelarJS. We look forward to seeing what amazing projects you will build on top of Axelar!